Regular maintenance is essential to make sure your car remains roadworthy and passes its annual MOT test. But while caravans don’t have to undergo the same rigorous testing regime, it’s important to carry out routine checks to make sure it’s fit to travel, paying particular attention to the tyres and brakes.
How do caravan brakes work?
Most UK caravans are fitted with an ‘over-run’ braking system, which is controlled by the caravan hitch. As you apply the brakes on your car, the hitch gets pushed back to activate a lever mechanism. This then compresses the drawbar, rotating a lever that then pulls on the brake rods to tighten the cables attached to the brakes drums and bring the trailer to a stop.
This inertia system ensures for even braking, as the braking effect applied to your caravan increases or decreases in direct relationship to the level of pressure you are applying to your car’s brakes – the heavier you hit the brakes, the harder your caravan will brake, and vice versa.
Alternatively, your caravan might have an electric braking system, whereby the brakes are automatically applied by the brake controller or manually operated by a control which is installed within reach of the driver and is connected to a control unit in the tow vehicle.
What should regular caravan maintenance include?
Although you might only use your caravan for a few months of the year, regular maintenance of its electrics, water systems, bodywork and interior can help to keep it on the road year-after-year.
Caravan servicing should form part of this regular maintenance schedule, and the following checks should be carried out by a qualified engineer:
- Hitch head coupling
- Chassis
- Bodywork
- Damp test
- Tyres
- Brakes
- Suspension
- Handbrake
- Road electrics & Appliance electrics
- Gas system & appliances
- Water system & Toilet
It’s also worth making a few extra checks before setting off on any journey. Carry out the following caravan maintenance checks to ensure everything is working as it should be:
- Tyrepressure & condition
- Wheel rims & wheel nut tightness
- Breakaway cable & clip condition
- Coupling head greasing or if stabiliser hitch head is fitted, check the friction pad wear
- Condition of gas hoses and connections
- Ventilation & gas vents
- Battery
- Road lights & connections
- All connection cables, plugs & sockets
- RCD cut-out test switch
- Water hoses and connections
Your caravan brakes are arguably its most important component, so at the very least you should have them checked by a professional every year. It’s also worth being extra vigilant by keeping an eye out for any warning signs that could indicate there’s a problem with some part of your braking system.

How to check your caravan brakes are working properly
Regular servicing of your caravan and its brakes should be enough to make sure they don’t suddenly fail, but even keeping up a regular maintenance schedule doesn’t guarantee this, so you should still keep an eye out for signs of wear and tear or any potential problems.
Here are some of the warning signs that indicate you could have a problem with your brakes:
- Unexpected activation– If you find the caravan brakes are activating unexpectedly, this could be a sign that they aren’t set up correctly. You’ll most likely notice this problem when drivingdownhill, and should get it checked out by a mechanic as soon as possible.
- Delay in activation– Although the over-run system means there is a natural delay between you hitting your car brakes and the caravan brakes deploying. If this is any longer than one second you should get your system inspected as soon as possible.
- Braking is too hard or soft– If you find that the brakes aren’t operating withsufficient force to stop the caravan, or they’re stopping it with too much force, then there could be a problem with the dampers. Dampers are effectively the system’s shock absorbers – if you can push the coupling head back easily or if it feels springy, there’s a good chance the dampers will need replacing.
Although all caravan over-run and caravan electric brakes maintenance and repairs should be carried out by a professional, you can adjust and maintain the actual brakes yourself. But take great care when doing so, as over-tightening can cause the brakes to drag and overheat, while incorrect adjustment of a damper can render it useless.
How to maintain and adjust your caravan brakes
Before you get started on your brakes, make sure you’ve applied the caravan’s handbrake and the hitch is fully extended. Raise each of the trailer’s corner steadies so they are clear of the ground, and then make sure you have to hand all the tools that you’ll need, including:
- A wheelbrace
- A torque wrench and wheel-nut sockets
- A suitable jack and axlestands
- A flat-head screwdriver
Firstly, you should crack and loosen the caravan’s wheel nuts, in much the same way you would when changing the spare wheel on a car, before jacking it up and supporting it with axle stands. For added stability, you can also now lower the corner steadies.
Then give the wheels a spin – if they spin freely without a grinding sound or drag, then they’ll not need adjustment. You may notice some noise as the brake drum catches against the brake shoes, this is perfectly normal and won’t be an issue.
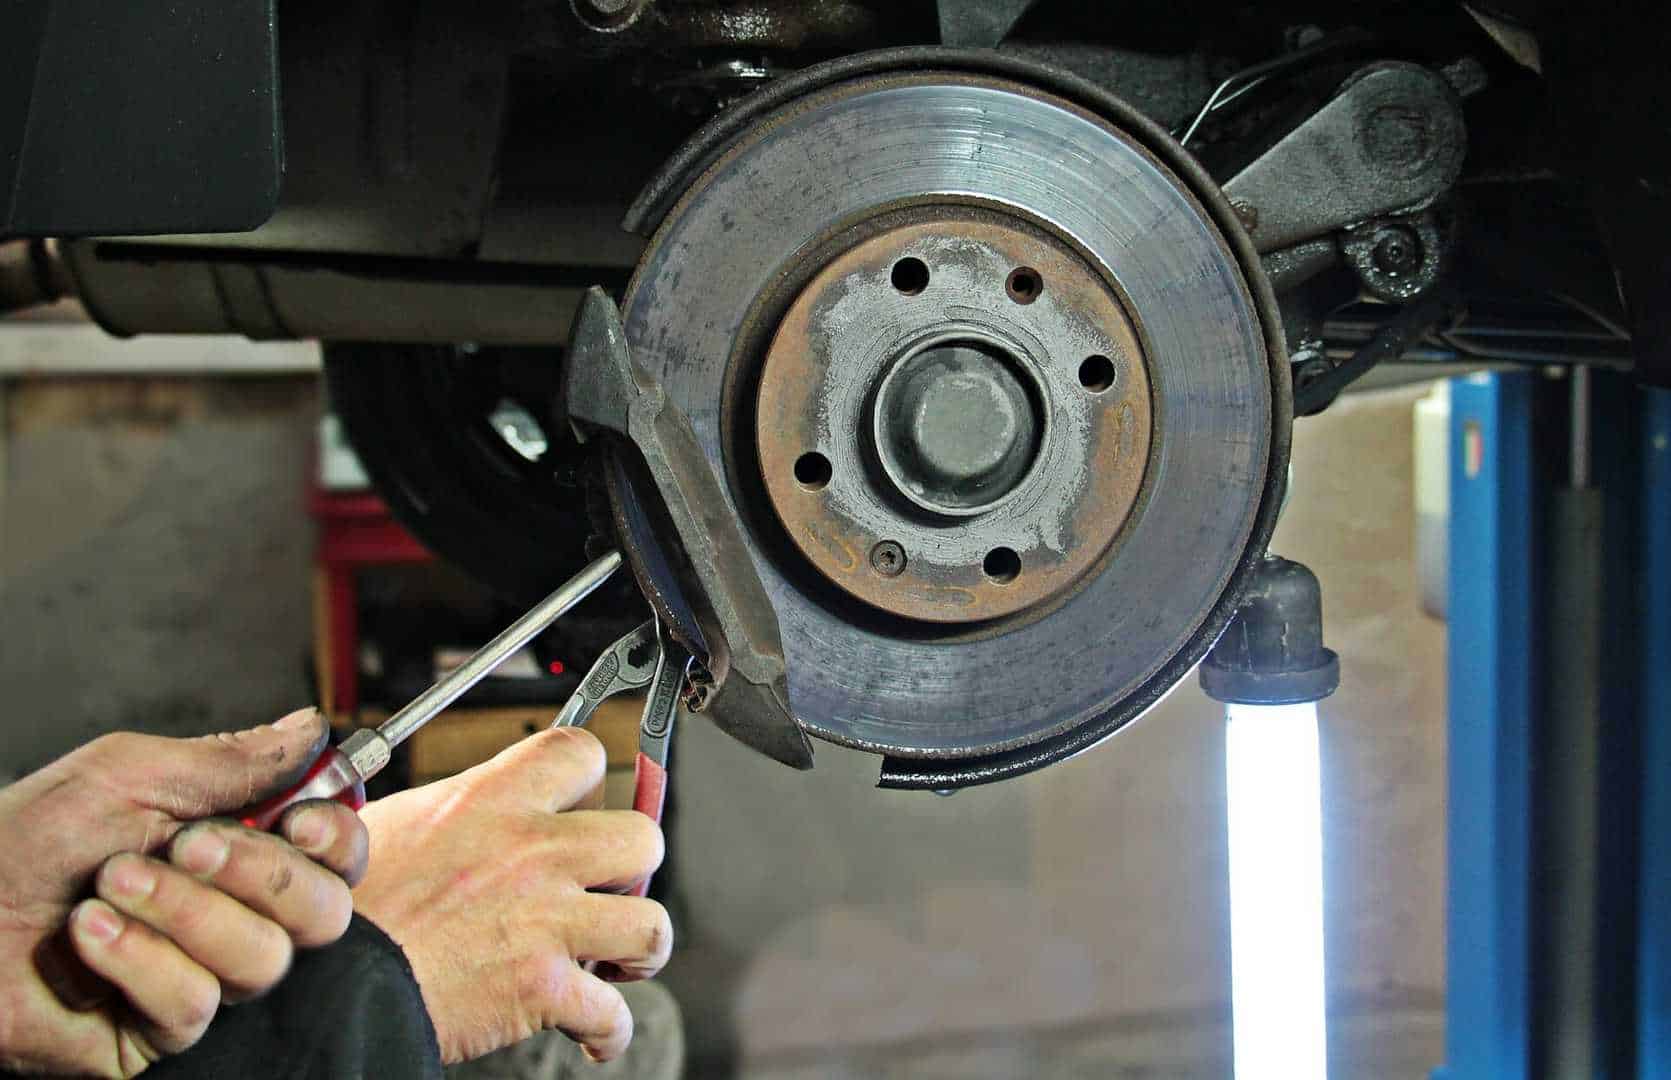
If there is any drag you’ll need to remove the wheel and look on the back plate for a small, bright plastic bung with an arrow next to it. To alter the brake drum, remove this bung, and take your flat head screwdriver to adjust the teeth in the direction of the arrow until you can feel resistance when turning the wheel forwards.
Then, while still rotating the wheel forwards, use the screwdriver to adjust the teeth in the opposite direction to the arrow, until no resistance is felt.
Repeat the process on the opposite wheel, and when both feel and sound the same, check the operation of the handbrake. Apply the brake fully before checking the balance bar in the centre of the caravan is at 90˚ to the rod from the hitch, and both sides pull evenly and the brake drums cannot be turned.
If this is the case, replace the bungs and put the wheels back on, but only loosely tighten the nuts. With the wheels back on, release the hand brake and make sure the wheels still spin freely, before re-applying the handbrake to make sure they lock.
Finally, remove the axle stands and raise the corner steadies before lowering the caravan to the ground and completely tightening the nuts.
And that’s all there is to it – a word of warning though, even if you carry out this routine maintenance yourself, you should still get your caravan regularly maintained and serviced by a professional, particularly before you take it out on the road.
Make sure your insurance is sorted
Although essential, carrying out a regular servicing and maintenance schedule is no guarantee that something won’t go wrong while you’re on the road, and that’s why it’s important to make sure your caravan is fully insured.
To find the right policy to suit your needs, give our insurance experts a call on 0208 9840 666 – our unrivalled choice of policies, is what makes 98.97% of Comfort Insurance’s customers say they’re happy with our service and would recommend us to a friend*.
*April 2014
Featured Image Source


